Photography by Jacqui Turk
Today, I’m finally sharing the ‘after’ photos of our bathroom and WC reno. For those of you who have been following on Instagram, I’m sorry it has taken a while! Of course, the reno took more like eight weeks than four, but as I have learnt, there will always be something to cause a delay! In fact, I have learnt so much from my first reno that I’ll be sharing a series of posts about this but today is all about sharing some beautiful photos of our bathroom and WC, which we are delighted with!
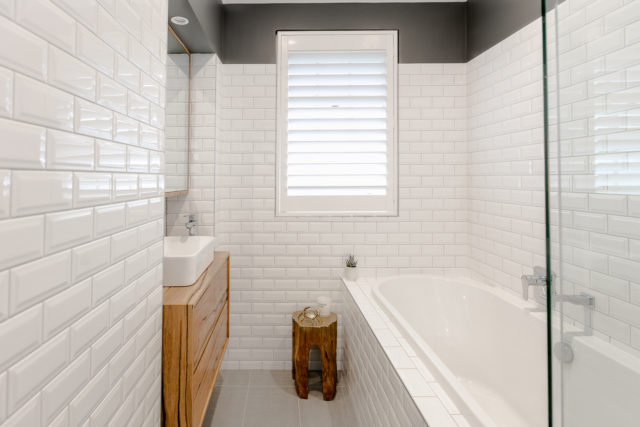
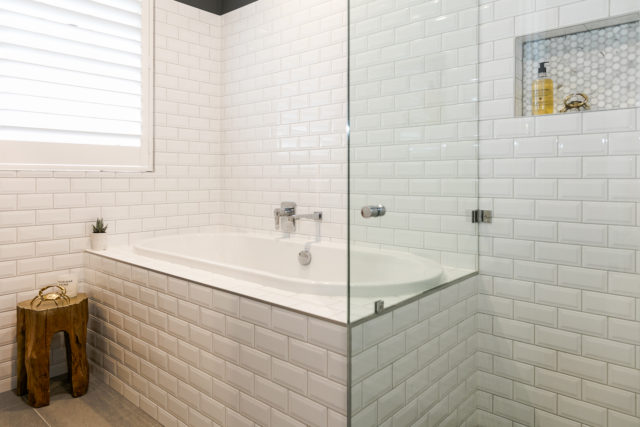
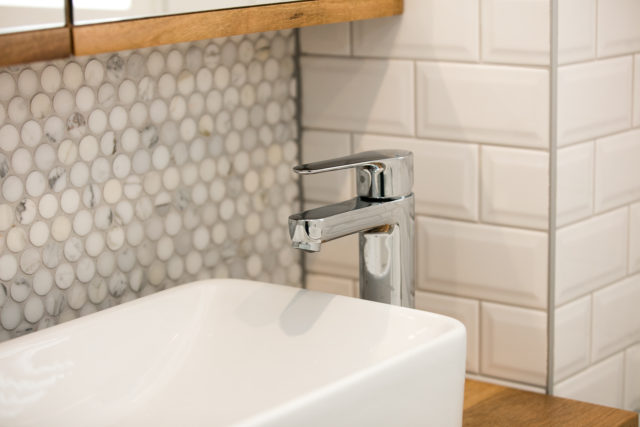
There was never any doubt in my mind that I wanted white subway tiles and marble pennyrounds in our new bathroom (more on the WC next door later). While I dabbled with other combos (and there were so many to tempt me!), I found I kept coming back to this. Then it was a choice between the beveled subway or the more organic, perfectly imperfect kind. As you can see, we went for the beveled and I’m so in love with the texture they provide. A large tub was also a non-negotiable, being a Pom and a seven-baths-a-week kinda girl.
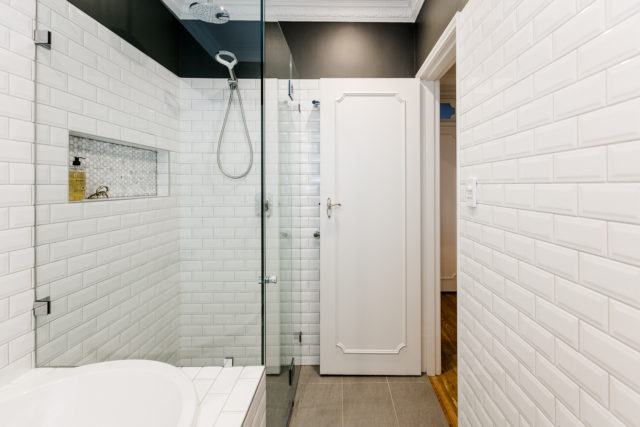
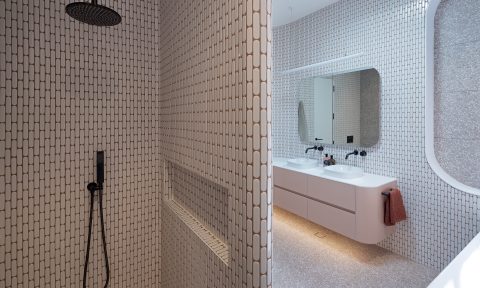
Our apartment bathroom isn’t huge, as you can see, and there wasn’t really a better layout than the one we started with. The ‘beautiful’ beige original bathroom didn’t have much going for it but the layout was a good use of space. This also saved us moving any plumbing, which kept costs down. Keeping a largely white colour scheme and introducing a frameless shower, all gave a sense of space and improved flow to the room.
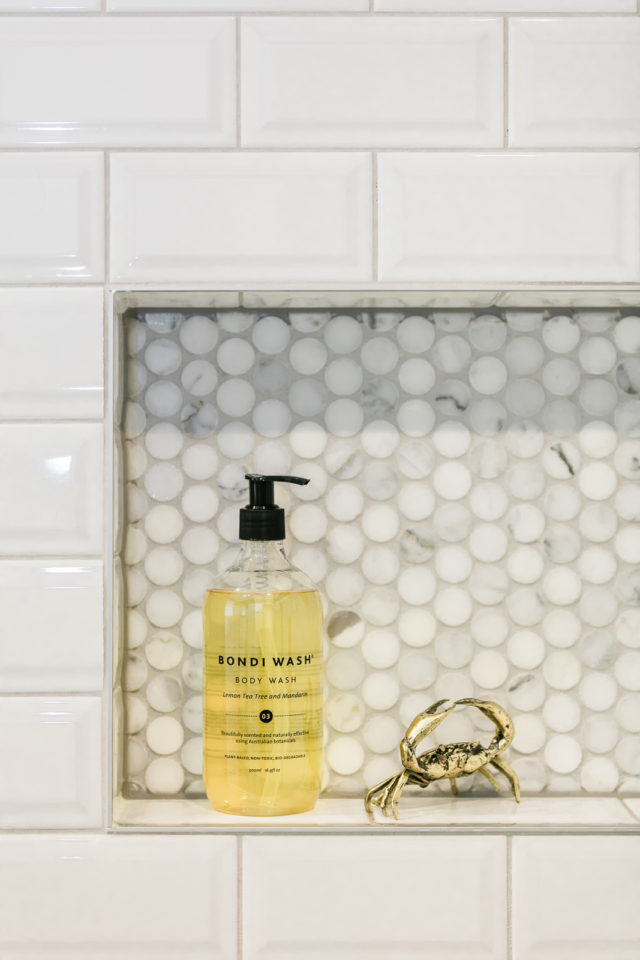
You can have too much white though, so I knew feature tiles would be important. To create the niche where we could put my much-loved pennyrounds, we had to build across what was an alcove in the shower, losing a little depth from the shower cubicle, but it was absolutely worth it! Using these expensive tiles in small areas like the niche and behind the basin, is a great way to create a more high end and interesting look without spending a fortune (let’s face it, labour is expensive enough and you need a lot of different trades for a bathroom!).
Speaking of trades, I am so happy I chose to go with one company to project manage the entire job and coordinate all the trades. I think I would have had a nervous breakdown without Integriti Bathrooms. Not only did they look after all the logistics, it was brilliant to have one point of contact to discuss any concerns or changes with.
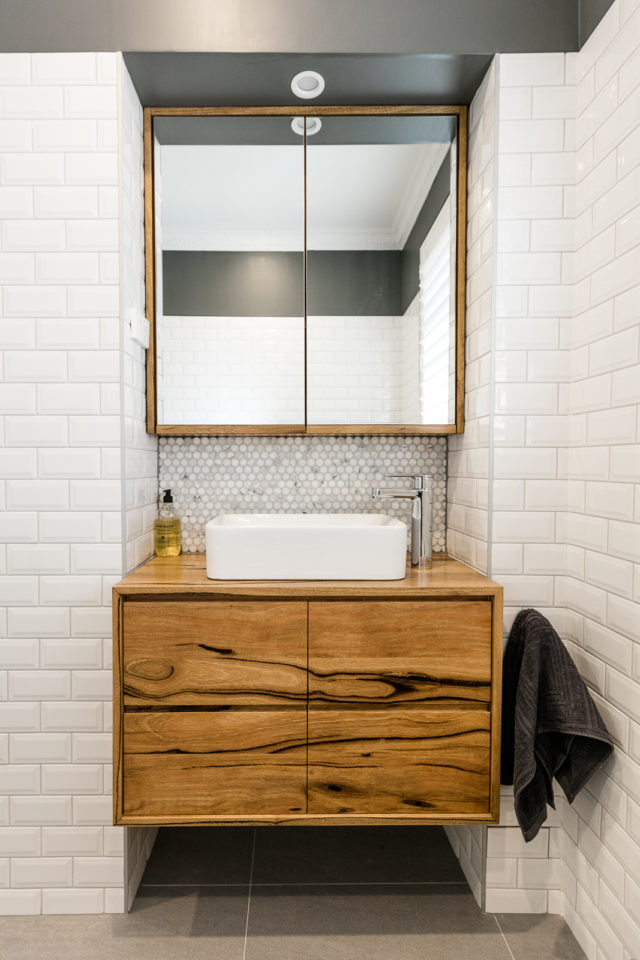
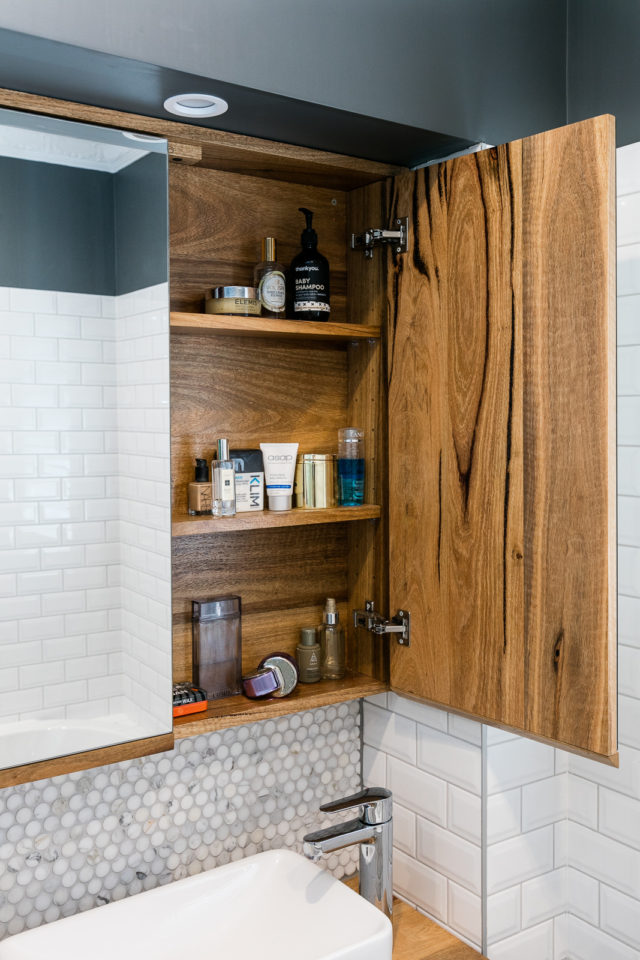
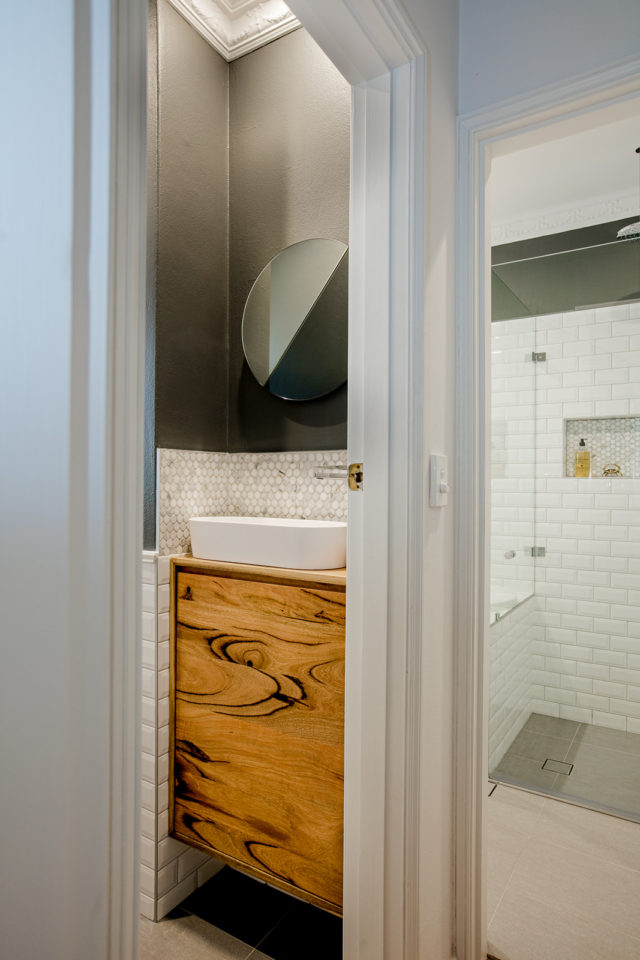
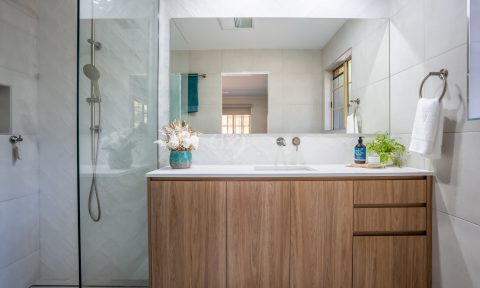
Another way we broke up the white was with the stunning custom-made timber vanities from Ingrain Designs in Melbourne. I discovered these guys from their work on previous series of The Block. Everybody who has seen the striking grain on these pieces has been just wowed. Not only does the bathroom vanity have super useful soft-close drawers, the shaving cabinet above is an exercise in simplicity meets quality. When you open it, it’s timber inside too. No plastic in sight. Such understated luxury! I’m so delighted to have something made by hand by a small (growing!) business in Melbourne from Australian Marri timber. Because it’s floating, it gives the illusion of more floor space. It also means we can store a basket of Seb’s bath toys under there (when we aren’t having photoshoots!).
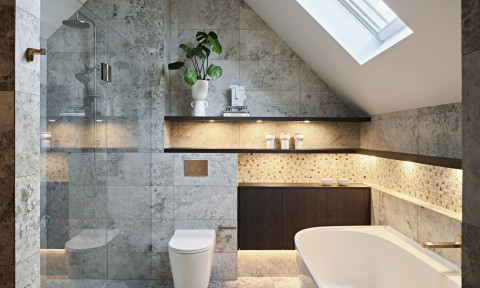
Although we could have, I am a big believer in not squashing a freestanding bath tub into a too-small space. I think it looks silly plus, think of trying to clean behind it! I’m really happy with how this inset bath from Kohler turned out. I deliberately chose an oval bath to soften all the hard angles in the room and to give a bit of a a look of a freestanding one. What do you think? It is so deep and long (1700mm) and comfortable to relax in with the perfect incline for lying back and reading a magazine.
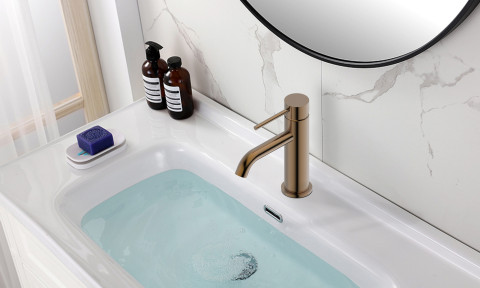
Now when it came to taps, I can’t say this is my dream tapware but it’s high quality and won’t date quickly. We made this choice with resale in the not too distant future in mind. If I had my way we’d be talking brass, no question! But sometimes a girl’s got to be practical. The bathroom basin was a last minute change, picked up from Bunnings for a mere $149! I’m really happy with it.
While the bathroom was deliberately simple, allowing the vanities to shine, I didn’t want to lose the decorative cornice we have throughout the apartment, which had to be removed when we built the wall across for the shower niche. Integriti Bathrooms tracked down a place in Melbourne with the moulds to make new cornice for the entire room, which matches perfectly. I really love these little details. To make the cornice pop, I was brave with my choice of a rather dark charcoal, Dulux Tea House, for the paint.
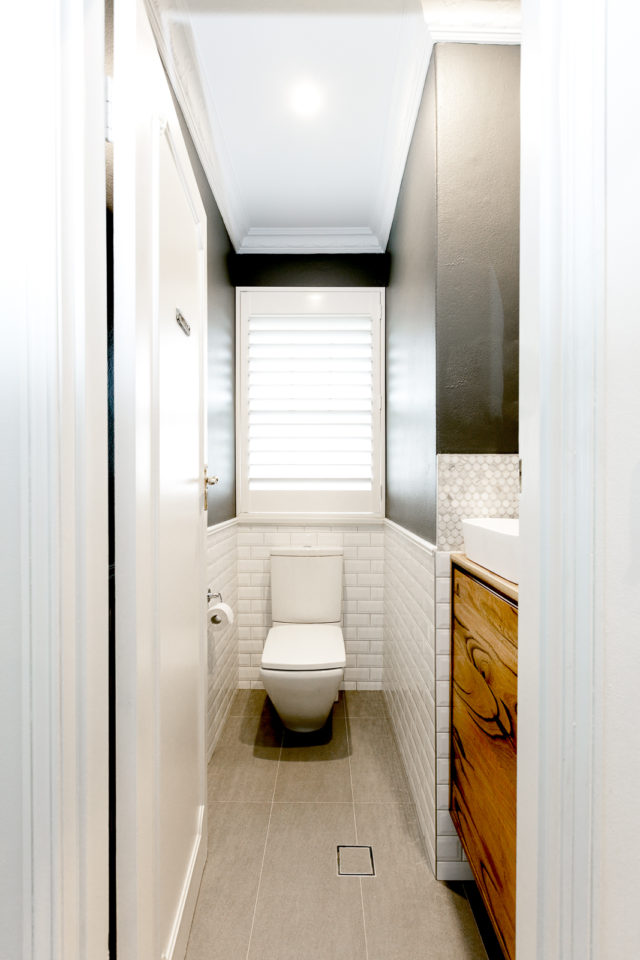
We kept the WC next door separate rather than knocking them through because when you only have one bathroom, it’s a practical choice! At least someone can use the toilet while someone else is having a bath, for example! We wanted to keep the look and feel the same so we used the same floor, wall and feature tiles and commissioned a tiny custom vanity, again from Ingrain. The fact that this had to be a cupboard with a door rather than drawers because of a lack of depth, just meant we ended up with one beautiful piece of timber which is the star of the show. Finding a basin to fit this tiny vanity however was a serious struggle. In the end we went with a very small, very expensive Gabicci one from Candana, but it really is a beauty!
If I had my time again, I’d put a lot more thought into the basins, their size in relation to the vanities and the positioning of the taps. The mirror was deliberately round to soften all the hard angles, and I really love it. It’s just a touch different and modern.
The tiny vanity fits an amazing amount inside, including 12 toilet rolls! Magic as we had zero storage before!
To finish it all off, the white plantation shutters were a must. I’m not sure there’s really any other option for bathroom window coverings in my opinion! I did consider leaving the sash windows ‘undressed’ being that they’re lovely features but, in contrast to the perfect finished rooms, they suddenly looked a bit old and sorry for themselves after years of repainting, not always very well!
Despite being a seventies apartment, our place doesn’t look like one and has a lot of lovely classic details like French doors, sash windows and moulding on all the doors and built-ins. This was another reason a super modern bathroom wouldn’t have worked here, not that that’s really our style anyway. I think we have achieved (if I don’t say so myself) the perfect timeless balance.
So, there we have it! I hope you like our reno! If you have any questions or comments, please drop them below. As I said, this will be the first of several posts about the bathroom and what we learned from the process.
SUPPLIER DETAILS
Labour and project management: Integriti Bathrooms
Tiles: Di Lorenzo Tiles
Bath, rain shower, tapware, towel rails: Kohler
Hand shower: Methven Aio Aurajet from Reece
Vanities: Ingrain Designs
Plantation shutters: DIY Online Blinds
Bathroom basin: Bunnings
WC basin: Candana Bathroom Ware
WC mirror: Life Interiors
Exhaust fan: IXL
Accessories: Brass crabs from Mr Pinchy & Co, candle by Gascoigne & King, tree stump stool from Two Girls and a Container, body wash and hand soap from Bondi Wash.
