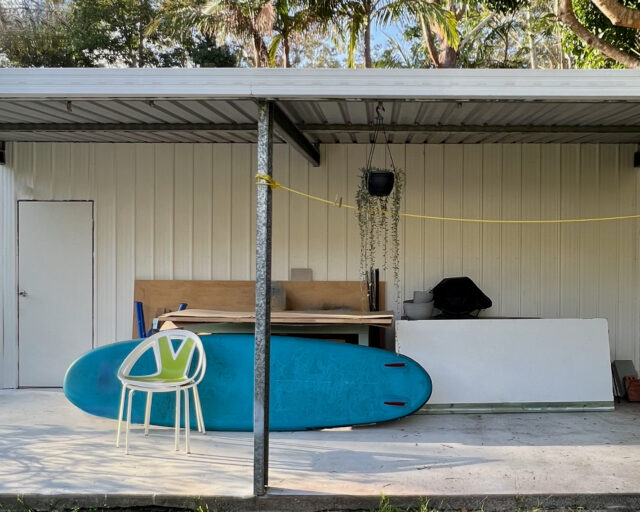
It took just three days for seasoned DIY specialist Natasha Dickins of Little Red Industries to revamp an unused car port into an outdoor retreat with the transformative power of paint.
“As with many Aussie homes, this area consisted of a concrete slab against a shed wall. It was grubby from use as a workshop and had become a dumping ground. Time for a makeover!” says Natasha.
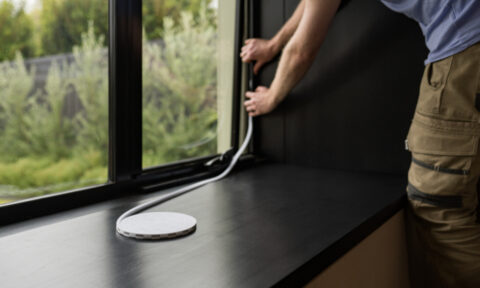
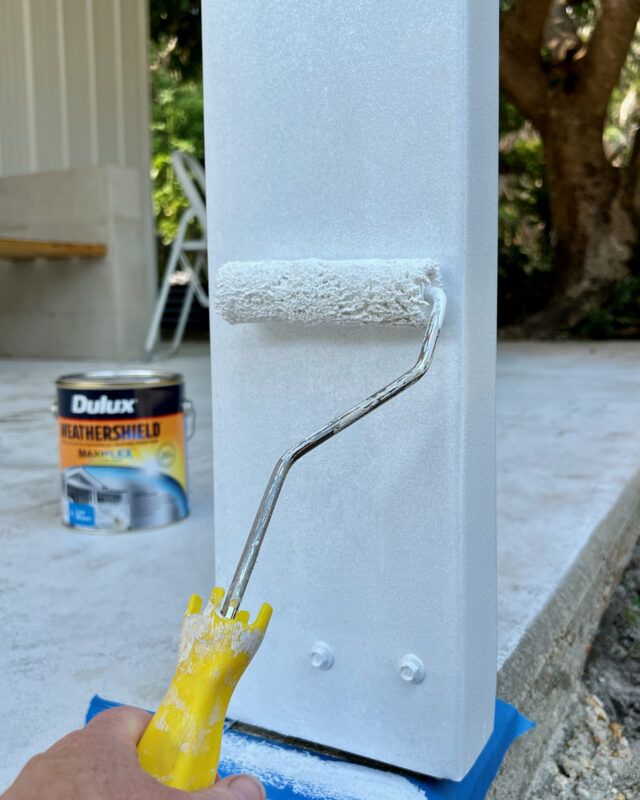
After moving out the accumulated stuff, Natasha pressure washed the entire area and left it to dry. “I primed the metal surfaces, including the posts and walls, in Dulux Precision All Metal Primer, then painted with Dulux Weathershield in Vivid White. It dries fast so there’s no waiting around between coats.”
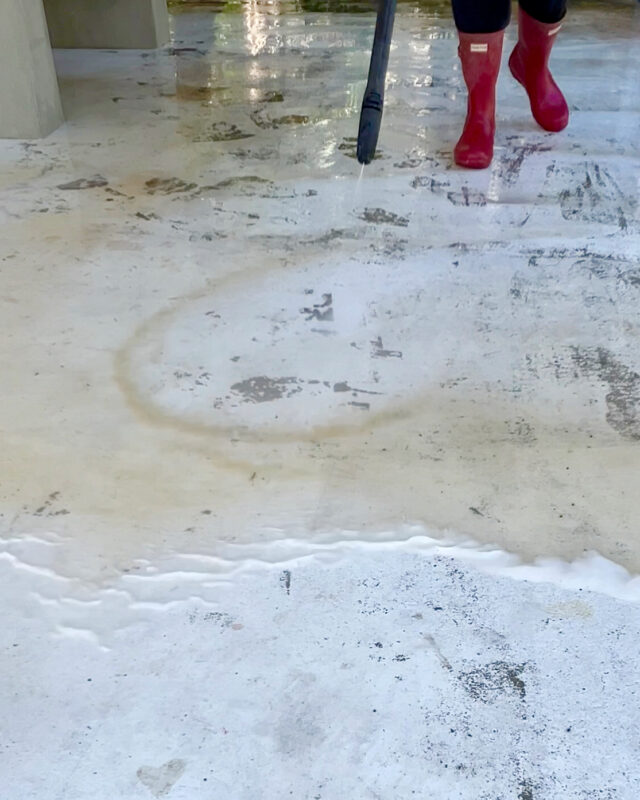
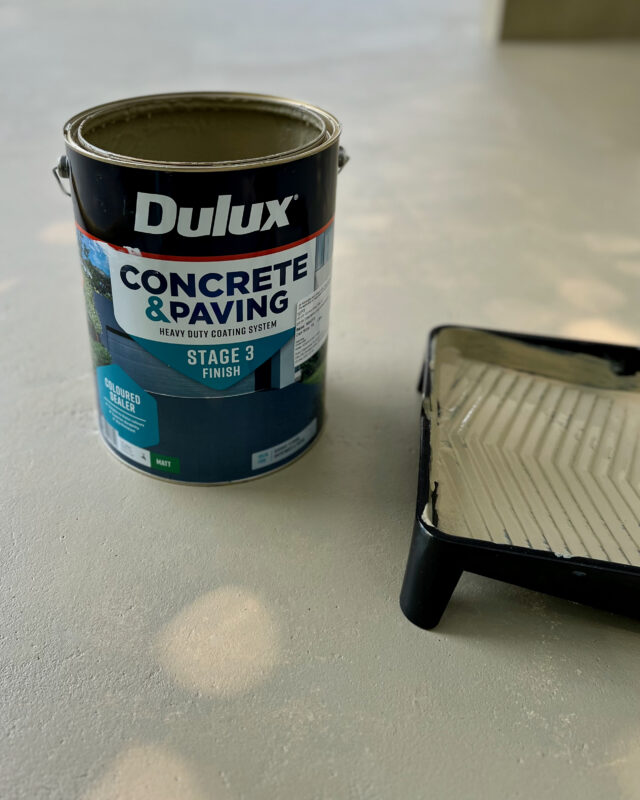
Then she got to work on the floor using the Dulux Concrete & Paving system. “First I scrubbed with a mixture of Dulux Concrete & Paving Sealed Surface Cleaner and water, pressure washing again.”
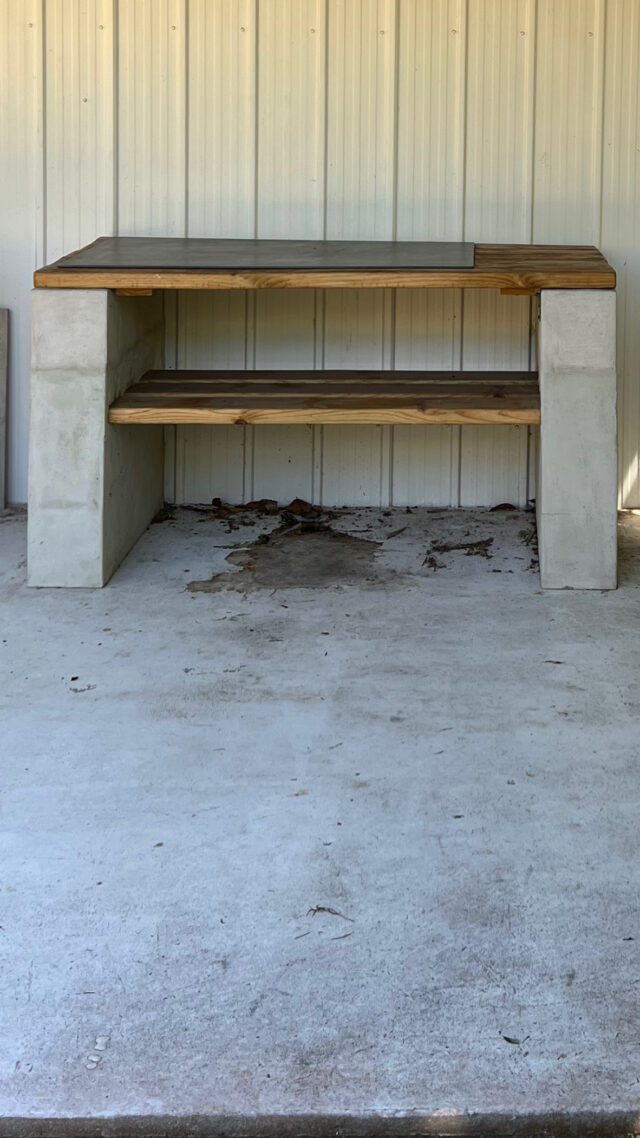
TIP Before purchasing products, check if your concrete is bare or sealed by pouring on 30ml of water, wait 30 seconds then dab the excess with a cloth. “It’s bare if it has soaked in, otherwise it is sealed. My floor and bench had previously been sealed.”
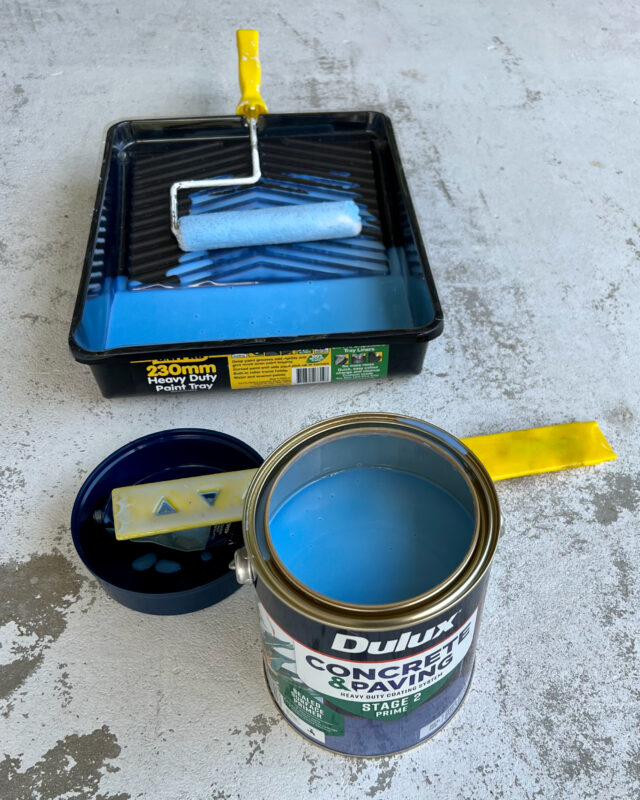
“Next, I mixed up Dulux Concrete & Paving Sealed Surface Primer with the supplied additive then used a mini roller to apply along the walls and around posts, with a larger 22mm nap roller on an extension pole to seal the floor.”
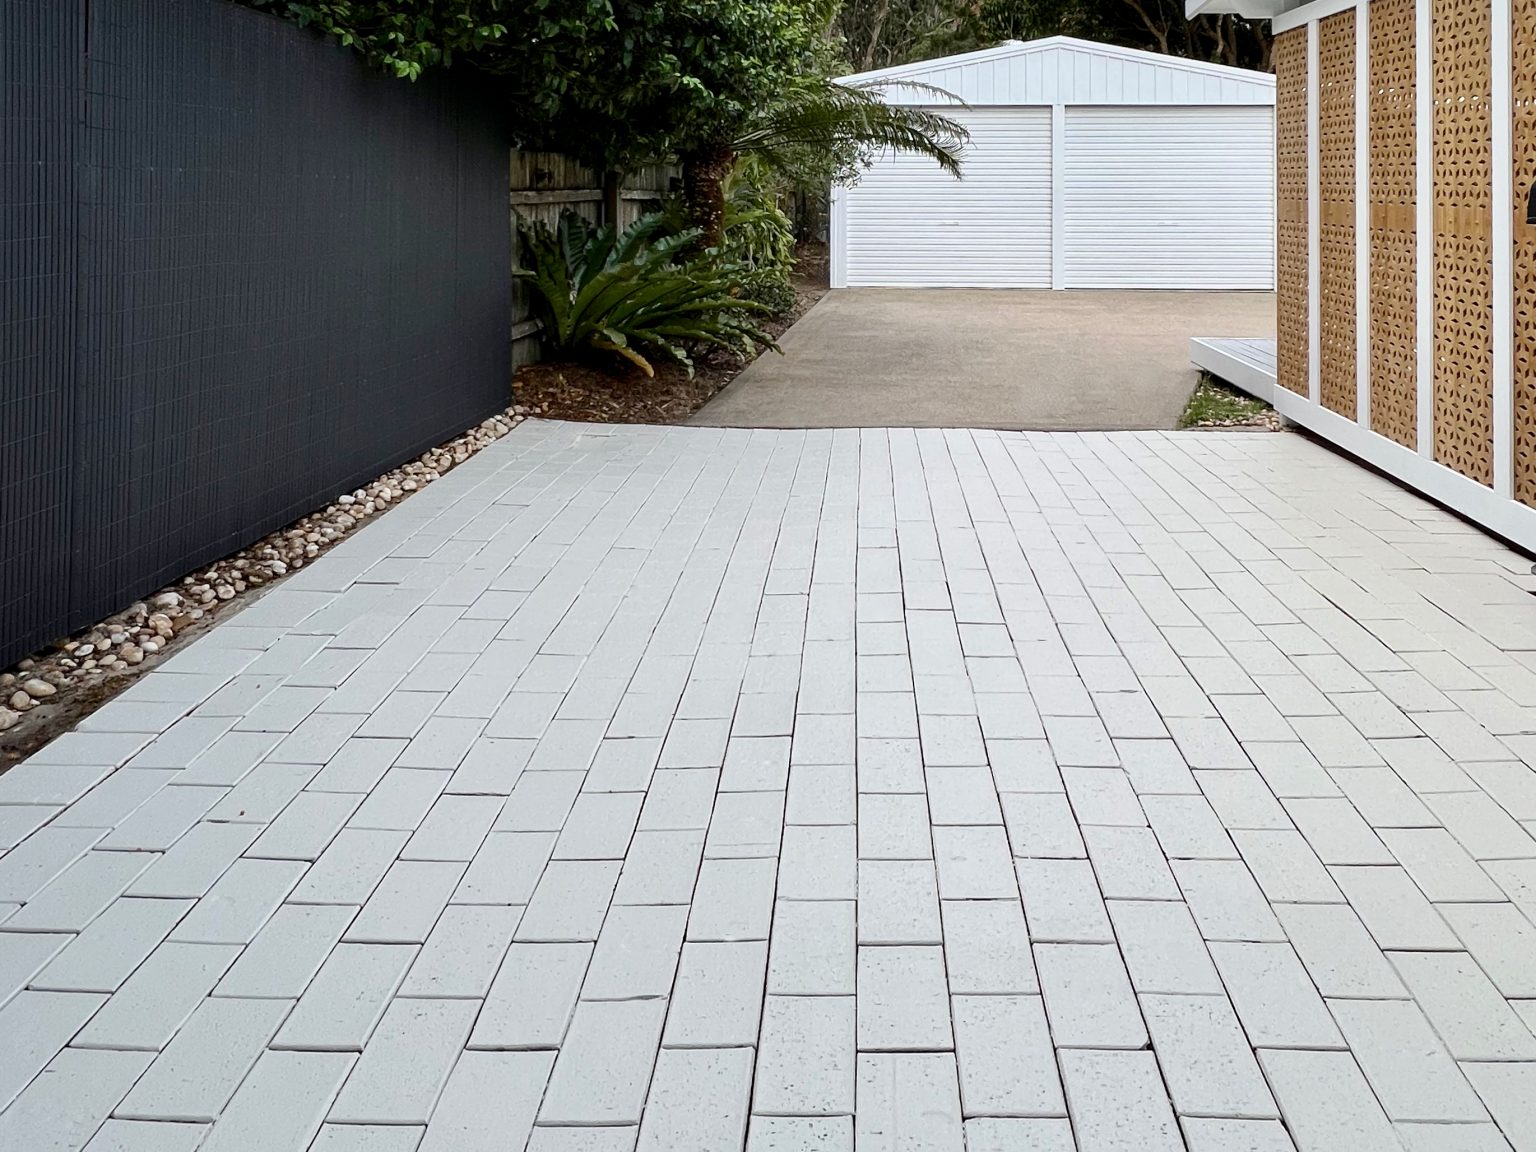
“To create a blank canvas, I applied two coats of Dulux Concrete & Paving Coloured Sealer in Tuft, cutting in around posts with a brush and using a long-nap roller to apply it evenly over the floor.”
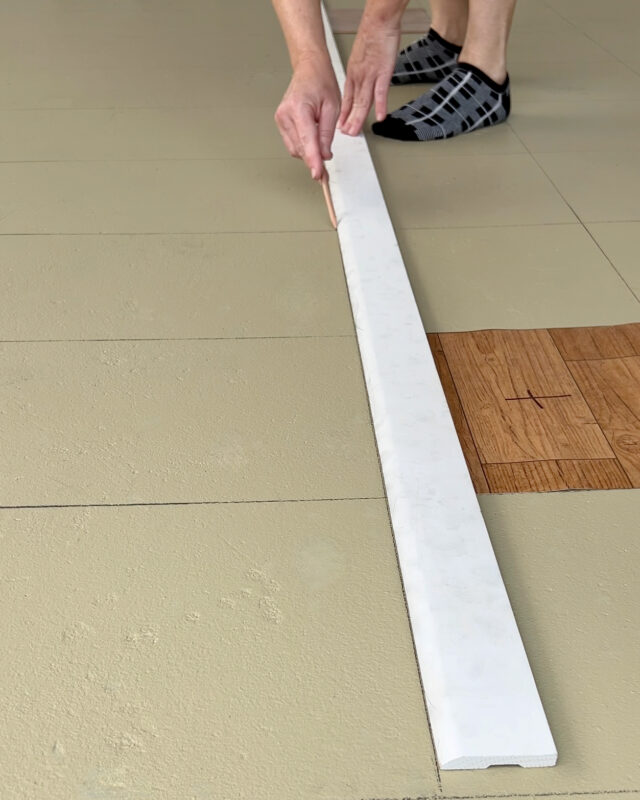
“When the base colour had dried, I marked out grid lines with a skirting board spaced evenly using two 300mm-square templates cut from vinyl. This saved having to use a measuring tape.”
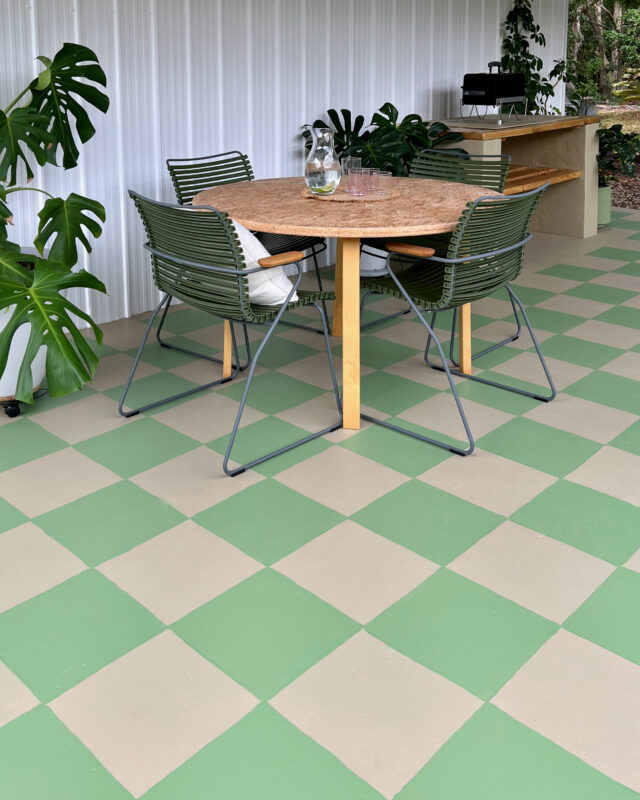
“I marked the non-paint squares with tape then applied Dulux Concrete & Paving Coloured Sealer in Dulux Equatorial Forest by dragging a paint pad around the inside edges of the squares then filling them in with a mini roller. To avoid masking the non-paint squares I found using a pad edger applicator was easier to make straight lines than freehand brushing.”
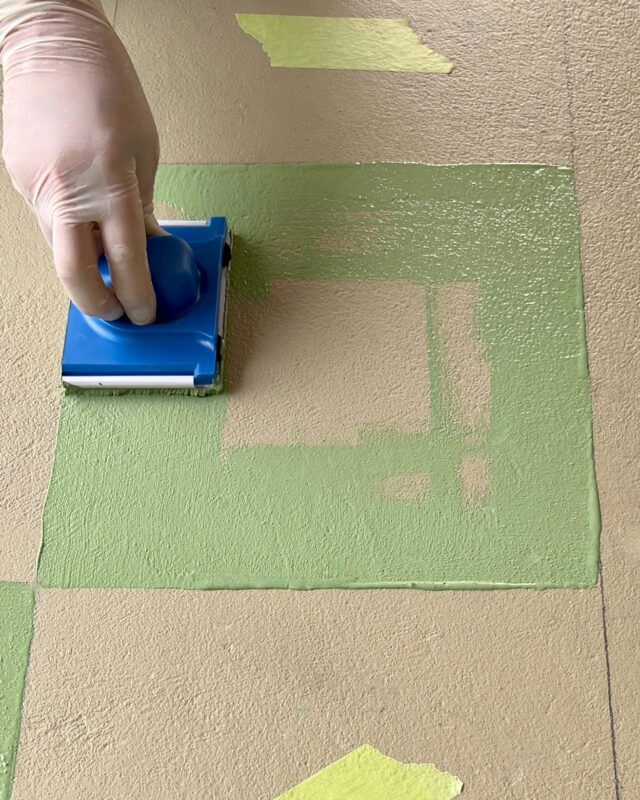
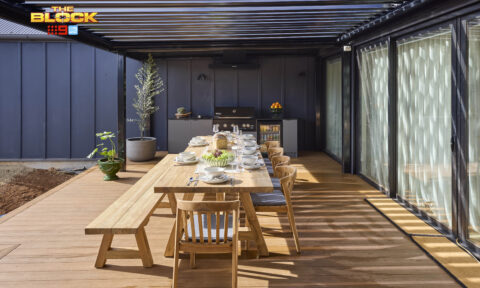
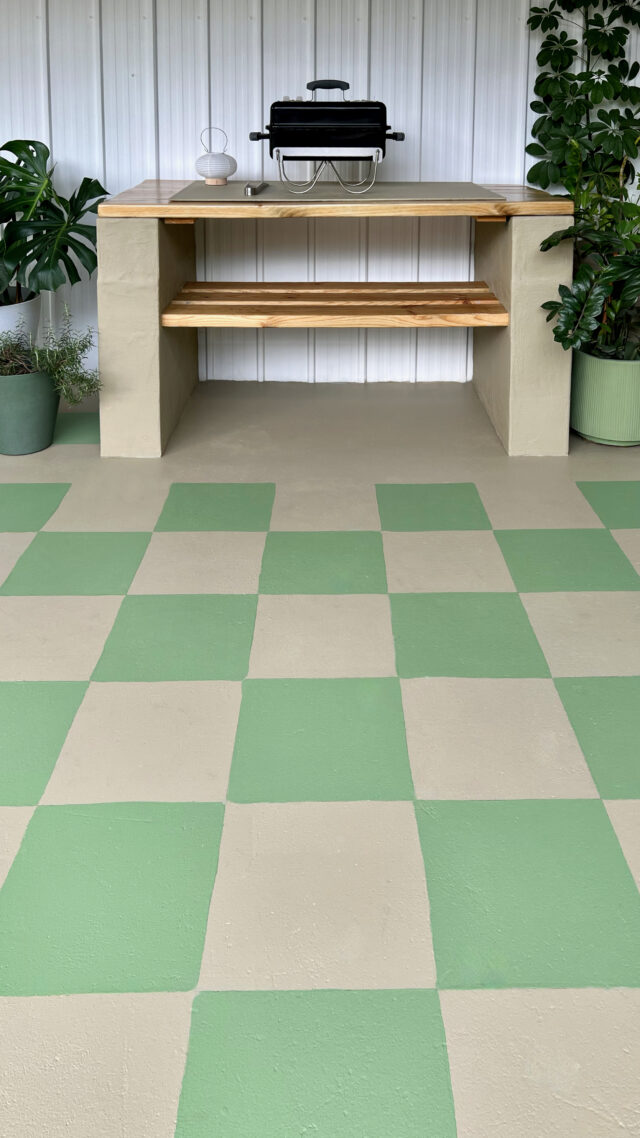
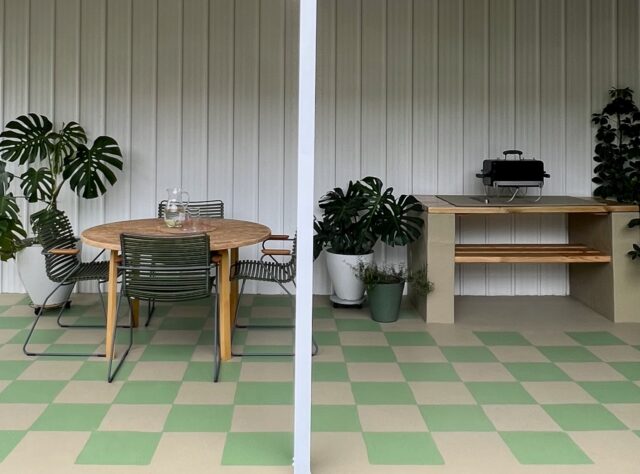
“I went over the squares again to cover any pencil lines while applying a quick second coat with a mini roller. The revived area is clean, bright, inviting and has created an entirely new new living space for cooking, dining and entertaining.”
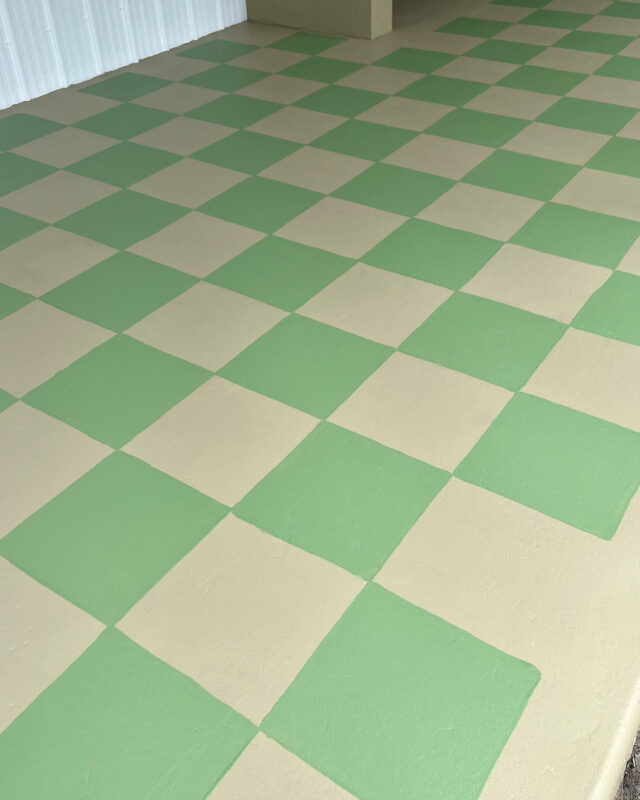
The new space
For more DIY projects by Natasha at Little Red Industries.