By Naomi Findlay
Let’s face it, bathrooms should be spaces of zen and relaxation. No matter how big or small, every home deserves a beautiful, practical bathroom. Rather than spending big on major renovations (bathroom renovations and dollar signs go hand in hand), there are some simple changes you can do to update the look and feel of your bathroom – starting with the tub. Today, we share how to paint a bath tub.
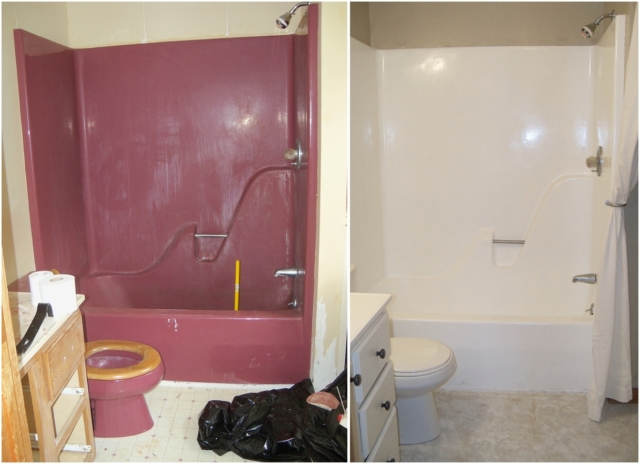
Bath tubs are built to withstand endless hours of bath time, but that baby pink shade of enamel (or turquoise in Jen’s new reno!)? Not so much. Save yourself the hassle (and dollars) involved with ripping out your dated or worn-out bathtub by giving it a fresh lick of paint instead! A DIY paint job can not only give your bathtub a facelift, but also help protect the enamel so you can enjoy it for years to come.

Stock up
Unlike DIY paint jobs involving tiles or cabinets, most bathtubs are of a similar size – meaning no calculations are needed to work out how much paint you will use. Just one pack of White Knight Tub ‘n’ Tile should adequately cover your whole tub (unless it is in really poor form, in which case you may need two packs).
Clean
Preparing your tub’s surface is a crucial step in a successful DIY makeover. Use an abrasive scrubber to blitz away any soap scum or bath oils that may be lurking on your tub – taking care not to overlook the drainage hole.

Sand
Sanding is probably one of the more tedious steps in a bathtub makeover, and one that may be tempting to skip. However, a proper sand will ensure that your newly painted tub won’t start flaking and cracking after a couple of uses. Use some sandpaper (or an electric sander) to roughen up your tub’s surface – the aim here is to remove that glossy enamel finish. Chipped paint can lead to rust or damage to the rest of the finish, so be sure to carefully sand back any bumps or cracks.
To finish off, rinse the tub with warm water and let it dry before giving the tub a wipe down with some rust guard solvent for an ultraclean finish.
Protect
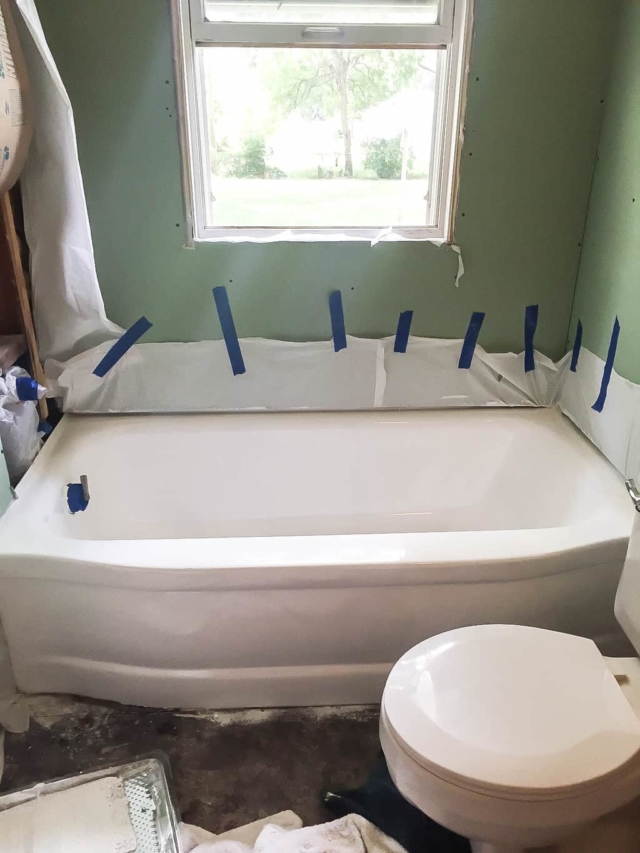
Use painter’s tape to protect the tiles surrounding the edges of your bathtub from paint, and lay down some drop sheets (or rags) on the floor. Wrap the taps and faucets in some plastic bags, securing with an elastic band (or hairband) – there is nothing worse than starting a paintjob and then dealing with a leaking tap. Also, don’t forget to tape your metal drain cover (unless you want to give it a makeover too).


Source: My Creative Days. Click through for more
Paint
White Knight’s Tub ‘n’ Tile consists of two parts. Prepare two sealable containers (preferably glass) – one of these containers should be large enough to hold both parts A and B. Use this container to stir together both parts for at least five minutes (yes, five whole minutes!). Pour half of this mixture into your second container, seal both containers tightly and place one of them in the fridge, leaving the other out in room temperature. After an hour, stir up the room temperature paint for another five minutes, then get ready to paint!
Starting from the bottom of the bath tub, use a bristle brush to layer the paint in a criss-cross motion. Leave the first coat to dry for at least a day to a day and a half (depending on how warm or cold the temperature is).
Pull your second container of paint out of the fridge about an hour before applying your second coat. Give this container yet another five-minute stir, then apply in the same way as the first coat.
You will have to quarantine the bathtub for a full five days before using again, and keep the plastic bags covering the taps until the tub is ready for use.
That’s it! Treat yourself to a good, long bath in your shiny new tub.
–Naomi Findlay is Australia’s rapid renovation expert, an internationally renowned renovator, award-winning property stylist and speaker.She’s an industry leader in creating healthy wealthy spaces and creating wealth and profit from renovating property. Naomi is CEO of staging company Silk Home and founder and principal of education provider, the International Institute of Home Staging (IIHS).


